Showing posts with label upcycled. Show all posts

April 8, 2012

Toy Society Drop: Constance Bunny

In 2010, I won a Tollipop giveaway: an original painting of a bunny. At that time, I also sketched a little picture of a toy I wanted to make based on the painting.

In 2011, I cut out the pieces for the toy, hoping to make a softie for the Mirabel foundation. I missed that deadline, but in 2012 I finally got around to sewing the toy in time for an Easter drop for the Toy Society (drop #1817).


Constance was made from a smattering of linen and cotton fabrics I had picked up from freecycle. If (when!) I make another Constance bunny, I will try and make the face rounder (perhaps attach it separately instead of having the head/body as one pattern piece), the dress wider at the bottom, and I will probably not stuff the ears. I still think it ended up being pretty cute, wonky arms and all.


I bundled Constance up in a plastic sleeve to protect her during her overnight jaunt in the park. Luckily I had a stash of labels and info sheets from the last time I did a drop.


I snuck out last night and hung it from some play equipment. I hope someone visited the park and Constance found a good home on Easter Sunday!

April 6, 2012

Stencilled morsbags using the handle in the design - Round two!

Back in 2010, I posted the first set of stencilled morsbags using the handle in the design. I made a few more in the series not long afterwards, once again using freezer paper for the stencils.

Old-school radio cassette player.

Octopus!

Alien spaceship!

The alien spaceship concept started simply enough, with a sketch of a spaceship (a design suggested by a friend of mine).


Then I got all of my screen paints colours out and went to town. I did it in two layers - colours first, then the black layer. Afterwards I added some details by hand.

I love this photo - it shows the cramped quarters I was working from in 2010. I had everything set up on an ironing board between my bed and my wardrobe.

This detail shows that I didn't quite align my layers. Of course, I realised afterwards that I didn't need to leave a gap in the yellow layer - the black would have printed fine straight over it! Luckily, I like the effect it produced given the context.

Got a bit fancy with mixing colours here.


And my favourite detail - the alien in the cockpit.

This bag is living with the friend who suggested the design.

If you want to make your own Morsbags, grab the free pattern from the site and some reclaimed material (these bags were made from old sheets). Careful - it's addictive, whether you screenprint them or not!

March 7, 2012

Softies for Mirabel 2010


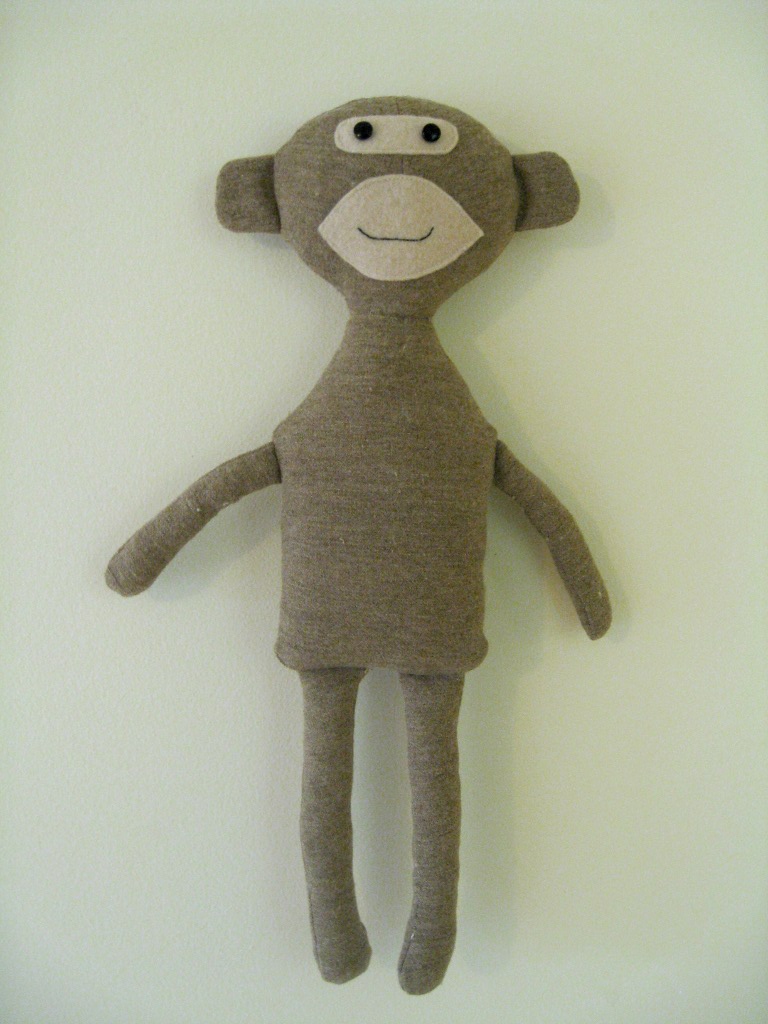
I got this this guy to Pip at Meet me at Mike's just in the squeak of time for the 2010 Softies for Mirabel drive.


It was the second time I'd joined in the fun, Eugene (the udderly lovely cow) having taken part in 2009.


George was made from the albert monkey pattern in the softies book, contributed by Fiona from Hop Skip Jump.

The trousers were very fiddly, but very cute.

It was a great project for using up odds and ends of fabric.

Sadly, I missed the deadline for the 2011 drive. I have the pieces already cut out for the 'Constance bunny' sketch, which might now end up as a Toy Society drop.

January 1, 2012

Christmas in New Zealand

A lot has happened since I last posted. I graduated, for starters! After graduating, I headed to New Zealand for a holiday (my older sister bought a house there), before returning to Australia for work. A year later and I am back in New Zealand, once again for a Christmas holiday.

My younger sister and I made a gingerbread house, as is tradition...


Only this time, it featured banana-wielding ninjas, among other details....

You could, in fact, call it a ninja bread house! Badoom boom ching!

It's been lovely to kick back after a very full-on year. I have been crafting, just not blogging. I hope to share some of my creative work from 2011 in the coming months.

In the meantime, I got up to a little crafting here!

My older sister and I bought a sewing machine for her house last year, and I calculate it has made about 80 Morsbags. To liven things up, I decided to make a little pincushion-in-a-basket. I picked up the cute basket from Trade Aid and the fabric is left over from making Morsbags.


I winged the pattern and ended up having to make the insert smaller. Let's just say that it's a good thing that the basket is curved and you can't see the edges where I brought it in!

Also, it was fun stuffing the cushion with scraps of fabric (I had no filling), but it does mean that there's a bit of resistance when it comes to pushing in the pins. I'm sure it makes for an efficient pin bluntener if nothing else!


I'll leave you with a picture of some of the decorations up in my room here in New Zealand. On the left, the 2012 Frankie Calendar (a Chrissie present) and on the right, a tea towel I picked up from a local op-shop. I'm loving greys and greens at the moment.

Happy new year, everyone!

August 28, 2010

Stencilled morsbags using the handle in the design

I was prepared for the 8th International Morsbagging Sunday, organised by I bag you, and had 26 kits cut and and ready to be sewn.

Here are the finished bags! The material is from 4 single sheets from my childhood. There wasn't quite enough for them all to have matching handles, so I decided that some of them would get one black handle which would then work into a design. Much like the red lemur bag!

Next came the planning stage. This involved lots of quick sketches to get some inspiration. I ended up with 17 bags to stencil! So far, I've managed...

A snake bag...

A hanging monkey bag (with one skinny ankle)....

A power cord bag (with sparks - first time I've used colour fabric paint)...

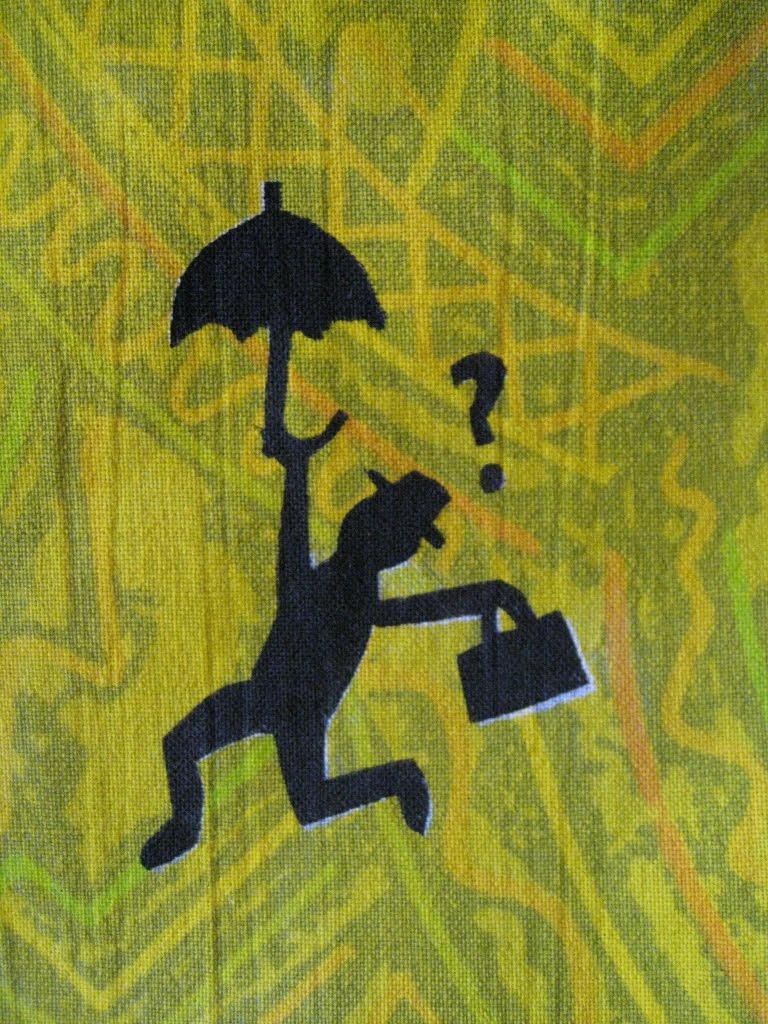
An umbrella bag...

A cat bag (I used a photo to design this one, hence its realism)...


And last but not least, a fatty fatty boombah bag. As you can see, realistic anatomy is not my strong point, unless copied from a photo!

There's a bit of go-go-gadget arm action happening there. And some cankles. And boy is that ape one fatty boombah. No more bananas for you!

Six down, eleven to go... If you have any ideas, please share!

August 14, 2010

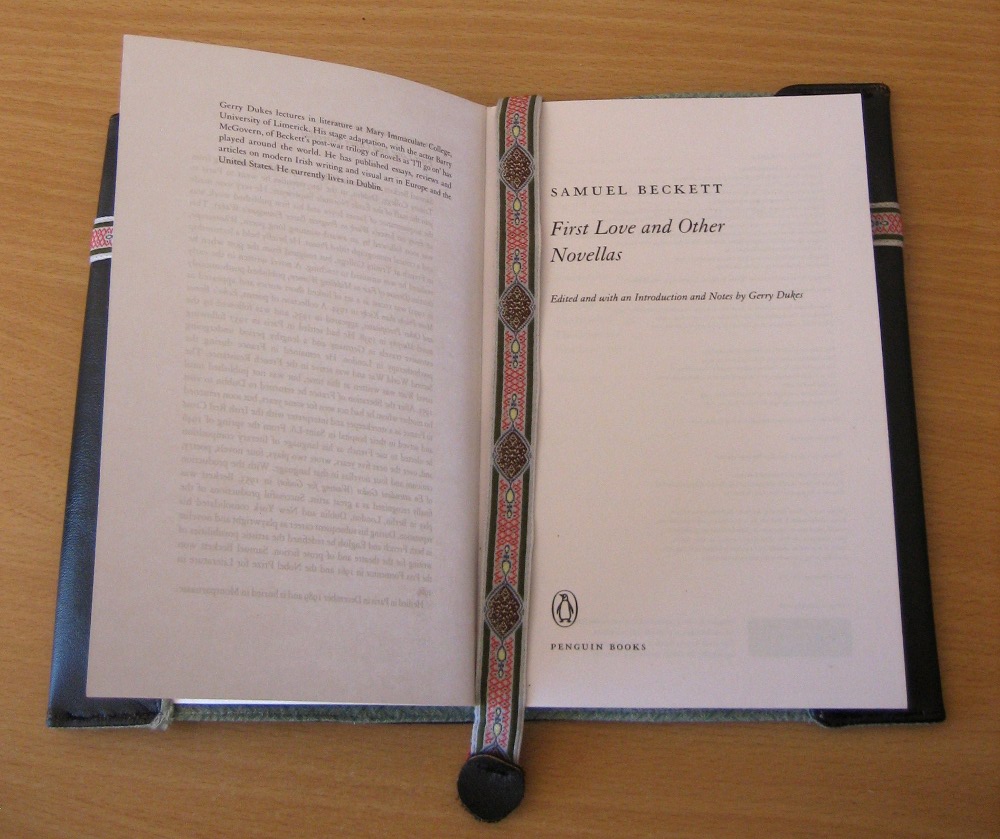
Leather book sleeve

I first saw a pattern for a book sleeve in Zakka Sewing. I'd been waiting for a special occasion to make one, as unfortunately books here come in every size and shape, making such a sleeve unlikely to be reusable for other books.

(Spot the cathy cullis doll in the pic above!)

I was tossing up which fabric to use for it when I remembered that the recipient of this gift had been given some thin leather that had been cut out from the back of the couch of a loved one. It had special meaning for him. Leather is not a material I've worked with before, or plan to work with again.


It didn't need any lining, but I was keen to use this green fabric that I'd saved from the ends of a pillowcase, the rest of which was made into a Morsbag.

Unfortunately I didn't think it through very well and the fabric was threadbare and the leather had a mind of its own. Let's just say that turning it inside out and poking out the corners was a little nerve-wracking.


I used some old packaging to make a little clear pocket on the front.

I also had some beautiful woven ribbon that I'd picked up from my local op-shop which I used to embellish the book and make a bookmark.

I guess I can always whip up some blank books in that size to fit inside the sleeve for future gifts!

If you'd like to make your own journal cover, there are some great resources here:

August 1, 2010

Reversible cycling cap

UPDATE: Pattern updated 02/10/10
Please scroll down for details
.


This reversible cycling cap was intended ad a gift, and as you can see it's a bit big for me! I scored the tweed material for next to nothing at my local op-shop, and the plastic in the brim (which allows it to flick upward like a traditional cycling cap) came from a display folder's cover. No that is not a real fingerstache tattoo, and the brooch is from Dog Daisy.

I got the idea from Panda Face's original pattern on flickr, which has some interesting comments and links to photos. Dude craft's video tutorial and PDF pattern were also a great help. The pattern is for a non-reversible cap and his brim is more like a baseball-cap. Unlike Panda Face's pattern, which needs some adjusting to get the proportions right, Dude Craft's is correctly proportioned and ready to print. It helped me create my own pattern using the more traditional brim as per Panda Face's pattern.

With their permission, I am releasing the pattern under an attribution, share-alike creative commons license, which means you are allowed to modify and redistribute the pattern as long as you do so under the same license and give credit.


UPDATE: After feedback from the recipient, I have modified the pattern to make the brim a little skinnier and the hat a little shorter. The files below have been updated, and the old versions are still available too. I have also removed the non-commercial clause from the creative commons license.
This pattern makes a cap with roughly a 62cm (24.4") circumference.

If you want to edit the pattern directly in Inkscape or an equivalent program, here is the original design file:
One day I plan to write up a proper tutorial on how to make the cap reversible and adjust the pattern size for different heads.

The basic idea is that you cut out 8 cap pieces and 2 brim pieces. You sew up the middle seam of each cap piece, then sew the cap pieces together in pairs. Next, grab two double cap pieces and join them. Check size against your head, adjust seams in as necessary. Repeat with the two remaining double cap pieces.

Next, take the two brim pieces and sew them together. Insert the plastic piece, sew around the edge of the brim (through the plastic) to keep in it place and sew the opening shut. Finally, put the two cap pieces together (right sides facing) and sandwich the brim piece between the two. Sew around the edge, leaving an opening at the back through which you then pull the cap right-side-out.

Fold under the sides of the opening and put some elastic in if you like. To finish it off, top-stitch all the way around the bottom of the cap, thus closing the opening and making sure both sides of the cap sit correctly.

June 27, 2010

Birds and bears on bags, oh my!

Spurred on by the 6th International Morsbagging Sunday and a request to donate bags for a "rubbish and bag free" primary school fête in Melbourne, I whipped up 11 Morsbags last Sunday. Two of these were stencilled...

This bag was decidedly plain and brown, so I decided it needed jazzing up with some birds sitting around on a wire. Which I made into a branch on the spur of the moment by branching one end and making the second one a little curvy.

Of course, once finished, I realised it looked a little silly. Talk about the world's strongest, skinniest branch!

Also, I recommend properly ironing down the freezer paper stencil and always painting away from the edges. Otherwise you end up with blobs like those you can see in the close-up above. But remember... it's a branch! Saved!

Shared under an cc-by-nc license
{source: Dr Case}

The inspiration for this stencil came from the above picture, snapped by Justin Case in Barcelona. I have a lot of my own pictures of street art that I've taken around the world which I also love to draw inspiration from.

The next Morsbag was cute on its own, made from a thrifted cushion cover. The polka-dots reminded me of snow flakes, so I decided a polar bear would be a nice addition.

Even though I've bought coloured screen painting ink, I still end up working predominantly in black and white.

And just to finish up, here's a picture of a stencilled Morsbag I made a little while ago from an old sheet. I have a lot more of this fabric, and I hope each one will each have a stencilled picture to distract people from the pattern!

June 23, 2010

Modified hand-me-down


Before ............................. After

Inspired by New Dress A Day, I modified this hand-me-down into something more suited to my style. Excuse the awful mirror shots! I obviously need to rope a friend into taking photos (or modelling) for me.

First thing I did was get rid of the floaty skirty bit and hem it. I have one shirt like that already and it always sits a bit awkwardly on me.

Next I removed the straps because the shirt was a few sizes too small and the sides were up in my armpits. Instead of cutting and hemming the front, I just folded it down and secured it with some tiny stitches. It stays up, but I have enough material left over to make some straps later, if I choose.

Hurry up, Summer!

May 23, 2010

How now, brown... sheet!


I had an old brown sheet to cut up, but was struggling a bit to think of ways to make the bags pretty. It needed a stencilled design on it! Since my last foray into freezer paper stencilling, I have acquired more screen-painting ink colours! I now have black, white, blue, red and yellow.

White seemed perfect... and I was totally lazy and ended up using my laptop's screen as a lightbox, zooming in on the design and placing the freezer paper directly on the screen, tracing over the picture lightly.

Stencil: "Cypress Tree" by Lynell Harlow, available from www.stencilwithstyle.com/lgcatalog2.htm

Sometimes a Morsbag sets itself apart from the rest, and needs to be sent to someone rather than bundled off to the op-shop. This one made its way to Anna Bartlett, a blogfriend who wrote a lovely post about it.

The remaining brown bags had scraps of the blue/brown fabric attached to them.

Unfortunately, due to the length of the scraps & some interesting pinning, the result was less than picture-perfect. Adds to the charm, I'm sure... but next time I may place the stripe off-center, down one side!
Related Posts Plugin for WordPress, Blogger...