Showing posts with label craft. Show all posts

January 2, 2017

Easy felt strawberries


Why not make some simple strawberries for decoration, or for kids to play with?


Step 1: Draw a circle on a red piece of felt (or other fabric), and cut into thirds.


Step 2: Embroider little strawberry seeds


Step 3: Sew up side up strawberries (by hand, or by machine), with right sides facing (inside).


Step 4: Turn the strawberry right-side out. Sew a gathering stitch along the top of the strawberry, and fill with some stuffing.


Step 5: Pull the gathering stitch tight and fasten at the top with a few more stitches. Then cut some leaves from some green felt.


Step 6: Fasten the leaves to the strawberry. Admire!

December 8, 2016

Quilt for Pulse


I remember the sense of hopelessness I felt when hearing about the events unfolding in the Pulse nightclub in June 2016. It was a targeted attack on a gay nightclub on a "latin night".

Not long afterwards, I saw a call out by the Orlando Modern Quilt Guild for quilts. Any contribution was welcomed, from single blocks, through to quilt tops, and of course finished quilts. The recommended block pattern was a simple heart one from cluck cluck sew.

Initially planning on completing just some blocks, I soon found myself watching out for bright colours in quilt shops, quickly picking up some beautiful background fabric (Paradise by Chong-a Kwang for Timeless Treasures) from Shellys Sewing Centre in Goulburn and a jelly roll of Moda Grunge from HobbySew Belconnen. I had never worked with a Jelly roll before, and soon found myself designing quilt after quilt, trying to incorporate a rainbow design, and taking care of the quantity of fabric required. Finally, I settled on this design:


I had no real neutrals in my stash, so I got a couple of jelly rolls of Whispers by Muslin Mates for Kona, and some generic fabrics from Lincraft and Addicted to Fabric.

It was a real labour of love, requiring a lot of math, fabric layout choices, careful cutting, and never ending ironing. So many seams when working with jelly rolls!


Bit by bit, I saw my design come to life, and before long the top was finished.


Because I bought my backing before having a quilt design/final size in mind, I was short by a frustrating few inches. This required a little more design work, and some thin strips of neutral to form small hearts and tie into the front of the quilt

Next was the question of quilting. My old sewing machine has not a lot of throat space, and I was tossing up between straight-line quilting and a stipple effect. With a little help from Christina Cameli's book "First steps to free-motion quilting" and a sewing desk I received from my local Buy Nothing Group (allowing me to lower the working area of the machine to table level), I launched head first into my first serious free-motion quilting.


It was difficult working the stitches on such a small machine, but I love how it turned out.


Made with Love by Jen E. 2016 #quiltsforpulse
 
I was proud to send the quilt to Orlando, to take its place with well over a thousand other quilts worldwide. I have seen that the distribution of these quilts has begun.

You can check out many of the quilts made by searching for the tag #quiltsforpulse
Lastly, I wanted to mention that there was a lovely short news clip about the project, and another news clip on distributing quilts to the Orlando police department.

April 8, 2012

Toy Society Drop: Constance Bunny

In 2010, I won a Tollipop giveaway: an original painting of a bunny. At that time, I also sketched a little picture of a toy I wanted to make based on the painting.

In 2011, I cut out the pieces for the toy, hoping to make a softie for the Mirabel foundation. I missed that deadline, but in 2012 I finally got around to sewing the toy in time for an Easter drop for the Toy Society (drop #1817).


Constance was made from a smattering of linen and cotton fabrics I had picked up from freecycle. If (when!) I make another Constance bunny, I will try and make the face rounder (perhaps attach it separately instead of having the head/body as one pattern piece), the dress wider at the bottom, and I will probably not stuff the ears. I still think it ended up being pretty cute, wonky arms and all.


I bundled Constance up in a plastic sleeve to protect her during her overnight jaunt in the park. Luckily I had a stash of labels and info sheets from the last time I did a drop.


I snuck out last night and hung it from some play equipment. I hope someone visited the park and Constance found a good home on Easter Sunday!

April 6, 2012

Stencilled morsbags using the handle in the design - Round two!

Back in 2010, I posted the first set of stencilled morsbags using the handle in the design. I made a few more in the series not long afterwards, once again using freezer paper for the stencils.

Old-school radio cassette player.

Octopus!

Alien spaceship!

The alien spaceship concept started simply enough, with a sketch of a spaceship (a design suggested by a friend of mine).


Then I got all of my screen paints colours out and went to town. I did it in two layers - colours first, then the black layer. Afterwards I added some details by hand.

I love this photo - it shows the cramped quarters I was working from in 2010. I had everything set up on an ironing board between my bed and my wardrobe.

This detail shows that I didn't quite align my layers. Of course, I realised afterwards that I didn't need to leave a gap in the yellow layer - the black would have printed fine straight over it! Luckily, I like the effect it produced given the context.

Got a bit fancy with mixing colours here.


And my favourite detail - the alien in the cockpit.

This bag is living with the friend who suggested the design.

If you want to make your own Morsbags, grab the free pattern from the site and some reclaimed material (these bags were made from old sheets). Careful - it's addictive, whether you screenprint them or not!

March 7, 2012

Softies for Mirabel 2010


I got this this guy to Pip at Meet me at Mike's just in the squeak of time for the 2010 Softies for Mirabel drive.


It was the second time I'd joined in the fun, Eugene (the udderly lovely cow) having taken part in 2009.


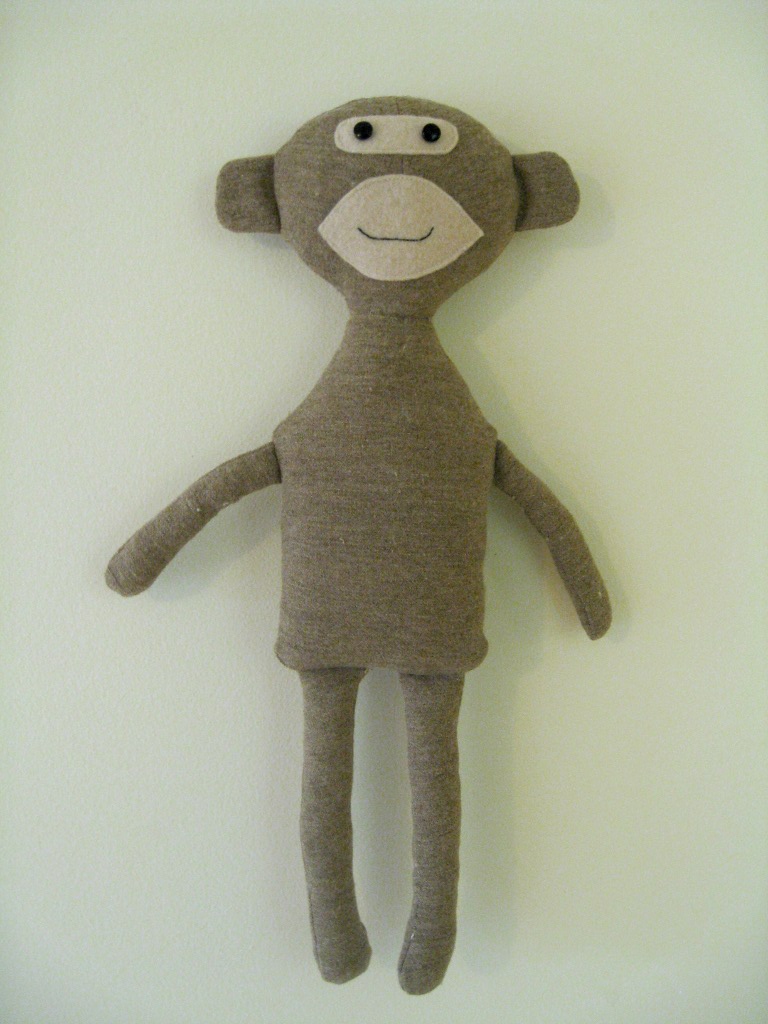
George was made from the albert monkey pattern in the softies book, contributed by Fiona from Hop Skip Jump.

The trousers were very fiddly, but very cute.

It was a great project for using up odds and ends of fabric.

Sadly, I missed the deadline for the 2011 drive. I have the pieces already cut out for the 'Constance bunny' sketch, which might now end up as a Toy Society drop.

January 1, 2012

Christmas in New Zealand

A lot has happened since I last posted. I graduated, for starters! After graduating, I headed to New Zealand for a holiday (my older sister bought a house there), before returning to Australia for work. A year later and I am back in New Zealand, once again for a Christmas holiday.

My younger sister and I made a gingerbread house, as is tradition...


Only this time, it featured banana-wielding ninjas, among other details....

You could, in fact, call it a ninja bread house! Badoom boom ching!

It's been lovely to kick back after a very full-on year. I have been crafting, just not blogging. I hope to share some of my creative work from 2011 in the coming months.

In the meantime, I got up to a little crafting here!

My older sister and I bought a sewing machine for her house last year, and I calculate it has made about 80 Morsbags. To liven things up, I decided to make a little pincushion-in-a-basket. I picked up the cute basket from Trade Aid and the fabric is left over from making Morsbags.


I winged the pattern and ended up having to make the insert smaller. Let's just say that it's a good thing that the basket is curved and you can't see the edges where I brought it in!

Also, it was fun stuffing the cushion with scraps of fabric (I had no filling), but it does mean that there's a bit of resistance when it comes to pushing in the pins. I'm sure it makes for an efficient pin bluntener if nothing else!


I'll leave you with a picture of some of the decorations up in my room here in New Zealand. On the left, the 2012 Frankie Calendar (a Chrissie present) and on the right, a tea towel I picked up from a local op-shop. I'm loving greys and greens at the moment.

Happy new year, everyone!

March 15, 2010

Incoming: bachelor dotee

It's always a thrill to get a package in the mail. Today was no exception... in fact the thrill was doubled because this package came all the way from Belarus!


He was created for The Bachelor Dotee swap on swap-bot. I love the look on his face... and he looks like he's all set for St Patrick's day!

Doesn't he have the most dashing of hats?

Lovely quilt used in the background courtesy of Geta :)

Thank you, LoyIvir, he's a cutie.


Related post: A gold monocle and a seedy moustache (Bachelor dotee I sent)

March 14, 2010

First attempt at a quilt block: dancing dragonfly

I signed up for the Cheryl Lavon Donation Swap on swap-bot. The idea is for participants to contribute quilt blocks to a quilt which will be donated to the American Cancer Association, in memory of Cheryl. I have never made a quilt block before, but that didn't stop me. Swap-bot is a wonderful excuse to try new things.


I headed to my local library, and found Sue Beever's Dancing Dragonfly Quilts on the shelf (all of the "standard" how-to books had been checked out). I was rather struck by the dragonfly motif and decided I'd give it a go.

Luckily the book has lovely piecing instructions for a beginner like me (although a "beginner like me should" probably have tried something like a traditional 9-piece block for her first go). I'm tempted to buy this book sometime in the future, there are so many lovely photos in it!

Next I headed to Lincraft to pick out some fabrics. I had only a very vague notion of things like quilt colour wheels and appropriate motif sizes. So I ended up grabbing the first four FQ of fabric in earthy tones that tickled my fancy (two green, two brown; three dark, one light) just as I was being shooed out of the shop as it was closing time.

After browsing through the book, I decided I'd try block variation #3, and that I'd give traditional piecing a shot.

Next, I played around with colours in Inkscape and I settled on this layout. I like how it kind of looks like a coconut tree! In retrospect it would have been a good idea to play with colours before buying the fabric. But I wasn't that organised.

Inkscape would be a great program for designing quilt blocks, I may do so one day. (I'm getting a bit ahead of myself here!)

Now, being an impatient newbie, I was sure to run into a few stumbling blocks along the way. First of all I was confused about the size of the block. The book had dimensions for making a 12" block, but the swap requirements said a 12½" block was needed. It took me a bit to realise that they were one and the same - depending on whether you include the ¼" seam allowance around the sides of the block in the size!

The next headache was wrapping my head around the cutting sizes for a traditionally pieced block. The author said that "seam allowances vary with the piece's shape", which confused me as I thought the seam allowance was always ¼". I eventually worked out she was talking about adding an allowance to the length of each the side of the block, not about the distance between the block's finished size and the edge you cut along.

Once I worked these measurement issues out, I decided I want to start cutting RIGHT away, even though I hadn't ironed the material (the ruler squashes it flat!), and couldn't find my rotary cutter (but I have scissors and a disappearing ink pen!). Did I mention being an impatient newbie?

I used my A4 cutting board & 14"x4½" quilting ruler to measure out the pieces and used the angles in the ruler to double-check I had cut out the pieces correctly.

However, I was so busy concentrating on this that I managed to make a different kind of mistake: I cut out three triangles instead of two triangles and two trapezoids... it's obvious that I'm thinking like someone who does layered images, not flat ones! Appliqué, much? I salvaged what I could of the fabric by cutting one of the trapezoids out of the useless triangle.


Finally, I had all my pieces cut out. I gave in and ironed them.

And then I started looking at them, and trying to figure out how they would fit together properly....


Before realising that I needed to take into account the seam allowance... which changes the measurements quite a lot for angled cuts (which I don't usually have anything to do with... I tend to deal with rectangles or curves....)


My machine doesn't seem to do a ¼" seam very easily, so I just marked the seam with my disappearing pen...


... and followed the stitch line with the groove on my sewing foot.


All finished!


Here's a shot of the back! I did as instructed and ironed each seam open before adding the next bit of fabric.


Only one problem... it turned out to be wonky & the wrong size. The seam at the bottom was the worst offender, changing by ¼" from side to side. The right-hand side seam was simply ¼" too short.

I have since trimmed it down to a near-perfect 6" square. I'll think of something to do with it...

Not to be discouraged, I'll be trying again soon, using a different method. Probably the paper-piecing one outlined in the book. And I'll be ironing all my fabrics well before-hand.

At least this was only a quarter of the finished block, so I don't feel like I've lost too much time on this one!


Related posts:
Related Posts Plugin for WordPress, Blogger...